|
A compression sleeve is one way to repair a broken irrigation pipe. Compression sleeves work great in tight spaces, like a hole you dug in the ground. You only need a handful of tools to get this job done. 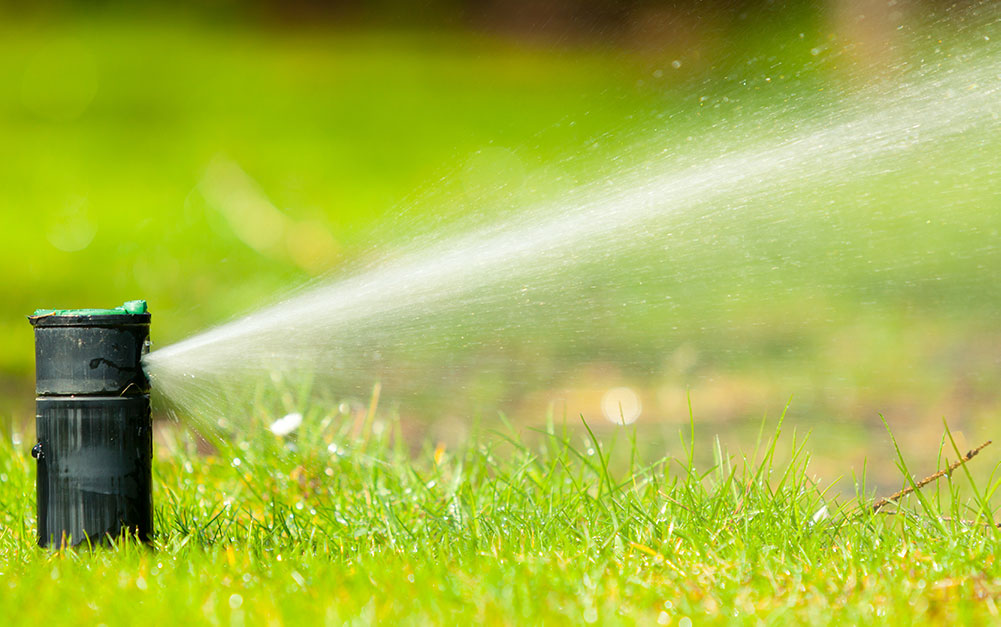 Tools Needed:
Shovel PVC Pipe Cutter or Hacksaw Two Channel Locks Rag (for cleaning) Compression Coupling (or two) small length of pipe (possible) Turn off the water. Dig around and find the break in the pipe. Once you uncover it, excavate about a foot or two along the pipe and about half a foot beneath the pipe. For a small break, you will only need one compression coupling. Cut a one inch section of pipe at the break. Clean the area of the pipe where the compression sleeve will go. For a larger break, you will need two couplings and a small section of pipe. You will cut out a more of the pipe and use the two compression sleeves and the additional pipe to link the irrigation system. If this is your problem, copy the steps below again for the second compression sleeve. Remove the ends of the compression coupling and push them onto both sides of the broken pipe. Make sure the threaded side is pointing toward the opening in the pipe. Push the rubber washers over each side of the pipe. Give yourself a little bit more room than the length of the compression coupling. Now insert one side of the pipe into the compression coupling and then the other. Try to get the break in the pipe to be in the center of the coupling. Hold the coupling in place and slide the washer toward it and the do the same thing for the other washer. Next, lightly twist the nuts onto the compression sleeve. Use one channel lock to hold the compression sleeve and the other to tighten the nuts. BE CAREFUL NOT TO OVER TIGHTEN. If you tighten too much, the compression sleeve will break. Turn on the water and look for leaks. If you spot some leaks, tighten a little more until the leak stops. Back fill the area with dirt and you are done.
8 Comments
It is winter in Baton Rouge which means your grass is dormant and the clover looks very healthy! You may be tempted to let the clover take over so you have a very lush, green lawn. If you want to get rid of the clover without killing your grass, we have your solution. It is also an easy fix. Let's get your lawn clover free. 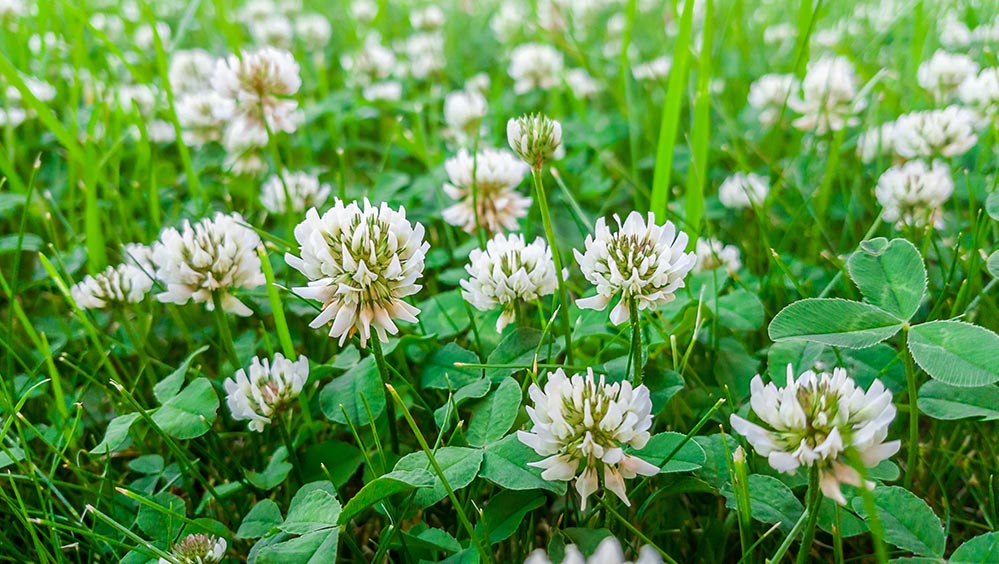 Clover Control
While it matters less when your grass is dormant, you need to know what type of grass you have. Typical desired grass types here are centipede grass, St. Augustine grass, zoysia grass, or bermudagrass. This is important. When you select a selective herbicide at the store, you need to be certain your grass type is listed as a type of grass that the product will not hurt. An old go to active ingredient for clover control is 2,4-d. There are a quite a few other products that will work well to achieve your goal. Follow the label for the product you purchase and spray or spread it over the top of grass. Stop Them Before They Start When dealing with clover, as well as most weeds, you should attempt to stop the clover before it spreads. Regular fertilization with nitrogen during the warm months will encourage your grass to spread and get thicker. Thicker grass will block out the sun from weed seeds. Another solution to stop clover is to use pre-emergent herbicides in late fall to prevent the seeds from ever germinating. Natural Weed Control A natural solution is to use corn gluten meal. Apply twenty pounds of corn gluten meal per thousand feet of clover weeds. After applying the corn gluten meal, water thoroughly and allow to dry. The meal then dries out the clover seeds so that it will continue to spread. Let's start of by setting your expectations. There is no easy way to do this the right way. You will get wet and dirty. It is also going to take some time. First you will need to drain your fountain. You can use your fountain pump to do this by redirecting the hose out of the fountain. Unplug your pump when it starts to take air in with water. Use a wet vacuum to get the remaining water from the bottom. If you do not have an easy to access pump, a bucket will work, but it will take forever.  Next, time to clean. Take our your pump. Clean it in a bucket of warm water with some dish soap. Remove anything big by hand. You will clean your fountain based upon what material it is made. If it is slate, clean it with a soap pad. If it is concrete, use a pressure washer with a fan tip. If you cannot rent a pressure washer, use half a cup of vinegar to one gallon of water and scrub everything. You could use two tablespoons of bleach in a gallon of water instead of the vinegar solution. Be sure to use waterproof gloves if handling bleach. The pump can be cleaned with either the vinegar or bleach solution. Be sure to thoroughly wash your fountain when finished so it is free of cleaning solution.
If there are any cracks, now is a good time to fix them. Let your fountain dry completely. Use caulk and sealant / paint to get your fountain looking like new. Allow it to dry to the time specified on the label. Put your pump back in a fill your clean fountain back up. To avoid doing this for a while, keep your fountain maintained. Using a small fishing net is an easy way to keep leaves and twigs out so they won't dirty up your fountain. Use mosquito pellets to keep mosquitoes from breeding while allowing the water to still be safe for birds or pets. Enjoy your clean fountain! |

AuthorCharlie Casselberry Categories
All
Archives
April 2024
|
 RSS Feed
|
|
Contact |
Services |
About |
Locations
|
GreenSeasons
|
Baton Rouge Office
11628 S Choctaw Drive, Suite 227 Baton Rouge, Louisiana 70815 |
Greenwell Springs Office
14461 Frenchtown Road Greenwell Springs, LA 70739 |
Slidell Office
56010 Highway 433 Slidell, Louisiana 70461 |
© 2020 GreenSeasons